If you want a fast way to sketch melodies, clean up note data, or tweak a converted MIDI track without opening a full desktop DAW, MusicMaker AI’s browser-based MIDI editor is an easy place to start. The tool is designed for people who want to work directly in a piano-roll interface, hear changes quickly, and export their results for use in a larger production workflow.
如果你想要一种快速的方式来勾勒旋律、清理音符数据,或者在不打开完整桌面数字音频工作站(DAW)的情况下微调转换后的 MIDI 轨道,那么 MusicMaker AI 基于浏览器的 MIDI 编辑器是一个非常合适的起点。该工具专为那些希望直接在钢琴卷帘界面中工作、能快速听到修改效果,并将结果导出到更大制作流程中的用户而设计。
In this guide, we will walk through how to use MusicMaker AI’s online MIDI editor, explain the main parts of the interface, and show how it fits naturally into a wider workflow that includes audio conversion, lyric generation, and music idea development. We will also point you to a useful companion read: How to Convert Audio to MIDI with AI: A Guide to Audio-to-MIDI Workflow.
在本指南中,我们将逐步介绍如何使用 MusicMaker AI 的在线 MIDI 编辑器,讲解界面的主要组成部分,并展示它如何自然融入更广泛的工作流程中,例如音频转换、歌词生成以及音乐创意的打磨。我们还会推荐一篇非常有用的配套文章:How to Convert Audio to MIDI with AI: A Guide to Audio-to-MIDI Workflow。
Why Use MusicMaker AI’s MIDI Editor?
为什么要使用 MusicMaker AI 的 MIDI 编辑器?
A good MIDI editor does not need to be complicated. For many creators, the real priority is speed: opening a file, correcting a few notes, adjusting rhythm, changing note length, and exporting the result. That is where MusicMaker AI’s free MIDI editor is especially useful.
一款优秀的 MIDI 编辑器并不一定要复杂。对很多创作者来说,真正重要的是效率:打开一个文件,修正几个音符,调整节奏,修改音长,然后导出结果。MusicMaker AI 的免费 MIDI 编辑器正是在这些场景下尤其有用。
Because it runs in the browser, you can start working right away instead of spending time installing software or setting up a full production session. This makes it practical for beginners who want to learn piano-roll editing, songwriters who need to test a melodic phrase, and producers who simply want a lightweight MIDI file editor for quick revisions.
由于它在浏览器中运行,你可以立刻开始工作,而无需花时间安装软件或搭建完整的制作工程。这让它非常适合想要学习钢琴卷帘编辑的新手、需要快速测试旋律乐句的词曲作者,以及只想用一个轻量级MIDI 文件编辑器做快速修改的制作人。
It is also useful in a modern AI-assisted workflow. Maybe you start with a melody idea, convert an audio phrase into MIDI, or generate a rough musical concept elsewhere. Once the MIDI data exists, the next step is almost always refinement. A browser-based editor lets you make those refinements quickly.
在现代的 AI 辅助工作流程中,它同样非常实用。你也许从一个旋律灵感开始、把一段音频乐句转换为 MIDI,或者在其他地方生成了一个粗略的音乐想法。一旦有了 MIDI 数据,下一步几乎总是精修和润色。而基于浏览器的编辑器可以让你快速完成这些精修工作。
How to Open the Tool and Start a Project
如何打开工具并开始一个项目
The first step is simple: open MusicMaker AI’s online MIDI editor in your browser. From there, you can begin a new project or bring in MIDI content you already have.
第一步很简单:在浏览器中打开 MusicMaker AI 的在线 MIDI 编辑器。从这里开始,你可以新建一个项目,也可以导入已有的 MIDI 内容。
A typical starting workflow looks like this:
一个典型的起始流程大致如下:
-
Open the editor page.
-
Decide whether you want to start from scratch or import an existing MIDI file.
-
Choose an instrument sound for playback.
-
Place notes manually or edit the imported data.
-
Preview the phrase and refine it.
-
Export the result when you are done.
-
打开编辑器页面。
-
决定是从零开始,还是导入已有的 MIDI 文件。
-
选择用于回放的乐器音色。
-
手动输入音符或编辑导入的数据。
-
预听乐句并进行精修。
-
完成后导出结果。
This is one reason many users look for an online MIDI editor free of unnecessary setup. When the goal is arranging and correcting note information rather than full audio mixing, a focused web tool can be much more efficient.
这也是很多用户会寻找一个无需复杂配置的在线免费 MIDI 编辑器的原因。当你的目标是编排和修正音符信息,而不是进行完整的音频混音时,一个专注于此的网页工具往往要高效得多。
A Quick Tour of the Interface
界面快速导览
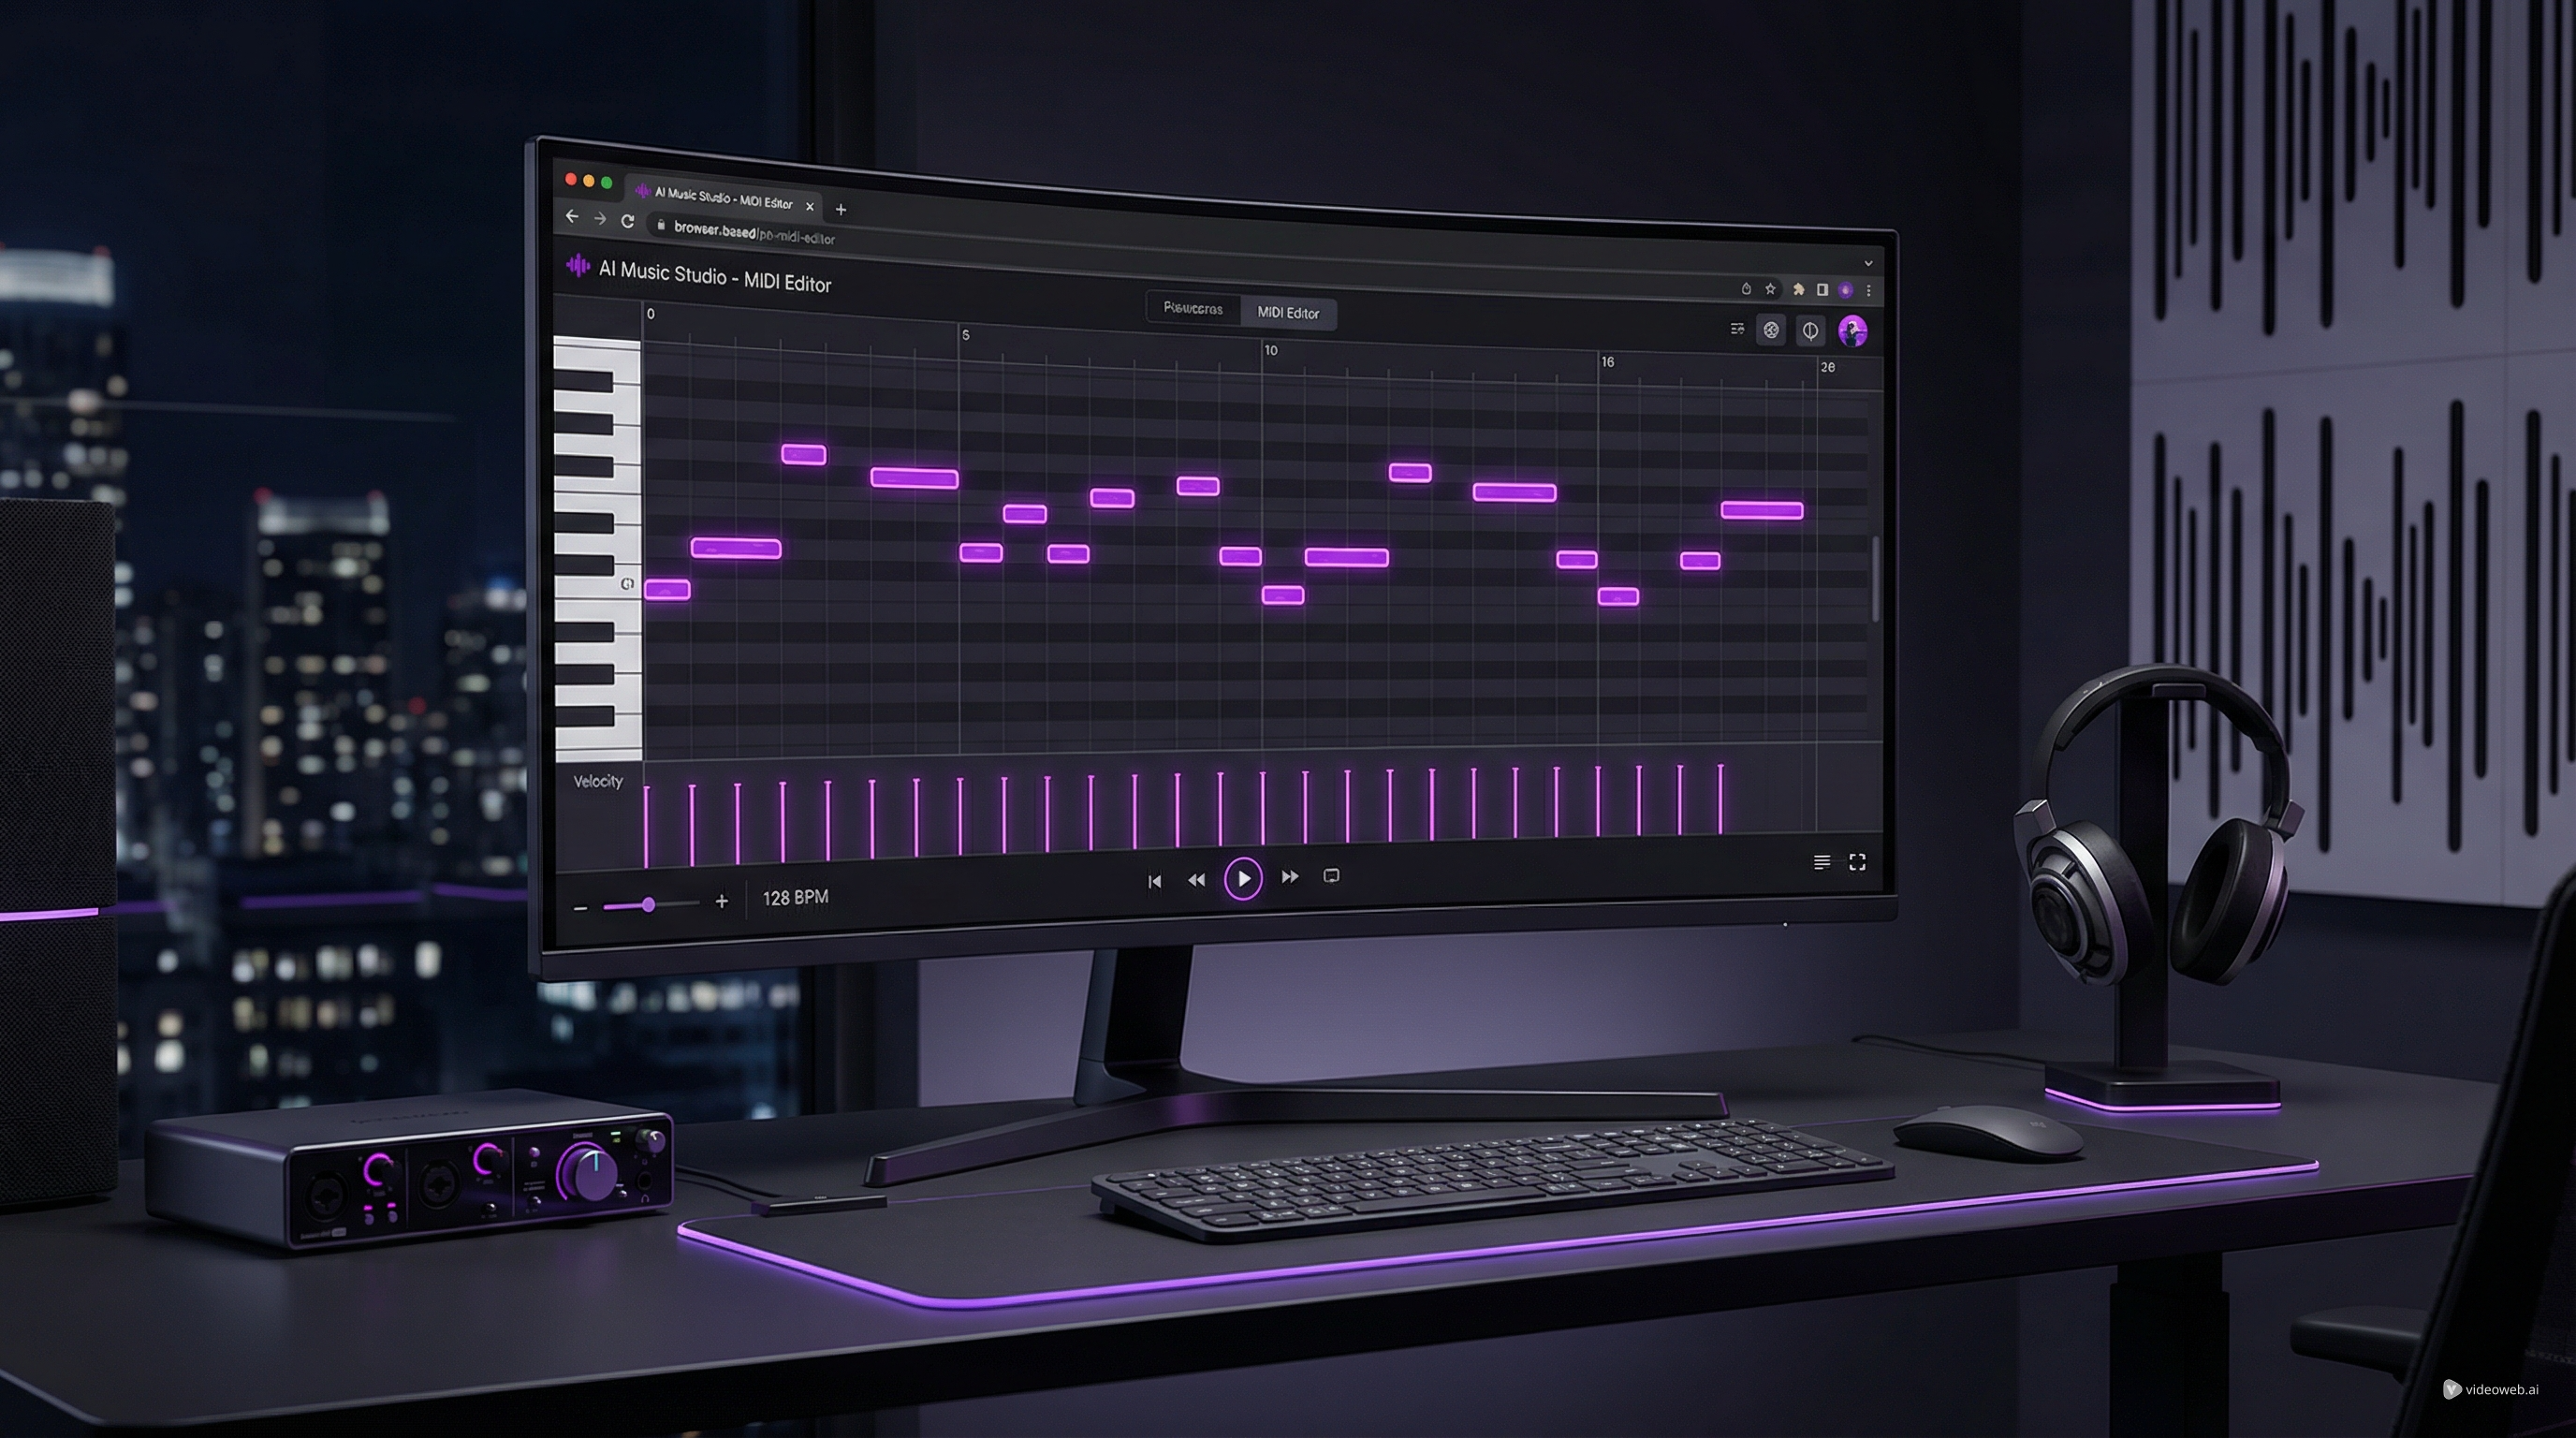
At first glance, the editor looks familiar if you have ever used a DAW piano roll, but it is still approachable for new users. The screen is organized into a few clear areas that support both composition and editing.
如果你曾在 DAW 中使用过钢琴卷帘,那么这个编辑器看起来会非常眼熟;但对于新用户来说,它依然很友好易上手。界面被划分为几个清晰的区域,用于支持写作和编辑。
The left-side piano keyboard
左侧钢琴键盘
On the left, you can see a vertical piano keyboard. This acts as a pitch guide, helping you understand where each note sits. When you place or move notes, the keyboard gives immediate visual context for melody and harmony.
左侧是一个垂直的钢琴键盘,用作音高参考,帮助你理解每个音符所在的位置。当你放置或移动音符时,键盘会为旋律与和声提供直观的视觉定位。
The central piano-roll grid
中央钢琴卷帘网格
The large center area is where most of the work happens. This is the piano roll: a timeline-based grid where pitch runs vertically and time runs horizontally. You can place notes, drag them to new pitches, move them forward or backward in time, and change their duration.
中间的大区域是你主要工作的地方——钢琴卷帘:一个基于时间线的网格,纵向表示音高,横向表示时间。你可以在这里放置音符、将它们拖动到新的音高位置、在时间线上前后移动,或改变它们的持续时长。
For anyone searching for the best MIDI editor for simple idea work, this is the key feature. The piano roll makes note editing visual and intuitive.
对任何正在寻找适合简单创意处理的最佳 MIDI 编辑器的人来说,这就是核心功能。钢琴卷帘让音符编辑变得可视化且直观。
Track and instrument area
轨道与乐器区域
Near the top of the editing area, you can see the current track and instrument selection. In the interface shown, the selected sound is an acoustic grand piano. This section helps you manage what you are editing and what sound you hear during playback.
在编辑区域的上方,你可以看到当前轨道和乐器的选择。在示例界面中,所选音色是原声大钢琴。这个区域帮助你管理正在编辑的内容,并确定回放时听到的声音。
Top editing controls
顶部编辑控制区
The top bar includes controls for view and arrangement, plus musical parameters such as tempo. You can also see volume and pan controls. These settings help shape playback and make it easier to hear your sequence in a more musical way while you edit.
顶部工具栏包含视图和编排的控制,以及诸如速度(Tempo)等音乐参数。你还可以看到音量与声像控制。这些设置有助于塑造回放效果,使你在编辑时能以更音乐化的方式听到自己的序列。
Bottom expression and control lanes
底部表现与控制通道
The lower section shows editable lanes for note-related parameters such as velocity, pitch bend, volume, pan position, expression, hold pedal, and modulation. This is an important part of what turns a rough MIDI sketch into something more expressive.
底部区域包含可编辑的控制通道,用于调整与音符相关的参数,如力度(Velocity)、弯音(Pitch Bend)、音量、声像位置、表现(Expression)、延音踏板以及调制(Modulation)等。这是将粗略的 MIDI 草图变得更有表现力的关键步骤之一。
If you only use note placement, your sequence may feel flat. Once you adjust velocity and expression, the same idea can sound much more natural.
如果你只设置音符的位置,整段音乐可能会显得平淡生硬。一旦调整力度和表现,同样的乐句就能听起来自然得多。
Playback and transport controls
播放与传输控制
At the bottom center, you get transport controls for previewing your work. These let you play, stop, and move through the timeline. BPM and timing display are also visible, which helps you keep the sequence aligned to the tempo you want.
在底部中间,你可以看到用于预听作品的传输控制区。它们可以让你播放、停止以及在时间线上移动。BPM 和时间信息也会显示在这里,帮助你将序列与所需的节奏保持对齐。
Together, these parts make the tool feel like a practical free MIDI file editor rather than just a basic note pad.
这些部分结合在一起,使该工具更像一个实用的免费 MIDI 文件编辑器,而不仅仅是一个基础的“音符记事本”。
How to Edit MIDI Step by Step
如何逐步编辑 MIDI
Once your project is open, the actual editing process is straightforward.
项目打开后,具体的编辑流程非常直接明了。
Step 1: Add or import MIDI content
第一步:添加或导入 MIDI 内容
You can begin with a blank grid or import an existing file. If you already have a melody, drum pattern, or converted performance, bringing it into the editor saves time.
你可以从空白网格开始,也可以导入已有文件。如果你已经有一段旋律、鼓点 Pattern 或转换好的演奏数据,将它导入编辑器可以节省大量时间。
Step 2: Add notes in the piano roll
第二步:在钢琴卷帘中添加音符
Click into the piano roll to create notes. Each note appears as a block. Its vertical position controls pitch, and its horizontal position controls when it plays.
在钢琴卷帘中点击即可创建音符。每个音符都会以一个方块呈现。方块的纵向位置决定音高,横向位置决定它什么时候发声。
Step 3: Fix pitch and timing
第三步:修正音高与时值位置
If a note is wrong, drag it up or down to change pitch. If it starts too early or too late, drag it left or right. This is one of the most common uses of a MIDI file editor: correcting mistakes without re-recording a part.
如果某个音符音高不对,向上或向下拖动即可更改音高;如果它提前或滞后了,就向左或向右拖动来调整时间位置。这是MIDI 文件编辑器最常见的用途之一:在无需重新录制的情况下修正错误。
Step 4: Adjust note length
第四步:调整音符长度
You can usually extend or shorten each note block to control duration. Shorter notes feel more detached; longer notes feel smoother or more sustained. This is especially useful for piano, synth, and string-like phrasing.
你可以通过拉长或缩短音符方块来控制其持续时间。短音会显得更加干脆、断奏;长音则更顺滑、连贯或具有延音效果。这对钢琴、合成器以及弦乐等乐器的乐句处理尤为重要。
Step 5: Edit velocity for dynamics
第五步:编辑力度以塑造动态
In the lower lane, adjust velocity values to make some notes hit harder and others sound softer. Even a simple melody becomes more convincing when the note strengths are not identical.
在底部控制通道中调整力度值,可以让某些音符敲击更有力,而另一些更轻柔。当音符的力度不完全相同时,即使是简单的旋律也会更具说服力和音乐性。
Step 6: Preview and refine
第六步:预听并精修
Use the transport controls to listen back. Then make small corrections until the phrase feels right. The fast preview cycle is one of the main advantages of using a browser-based MIDI editor free.
使用传输控制来回放你的作品,然后做一些细微调整,直到乐句听起来自然恰当。快速的“预听—修改”循环,是使用基于浏览器的免费 MIDI 编辑器的一大优势。
Why This Works Well with Audio-to-MIDI Conversion
为什么它特别适合与音频转 MIDI 搭配使用
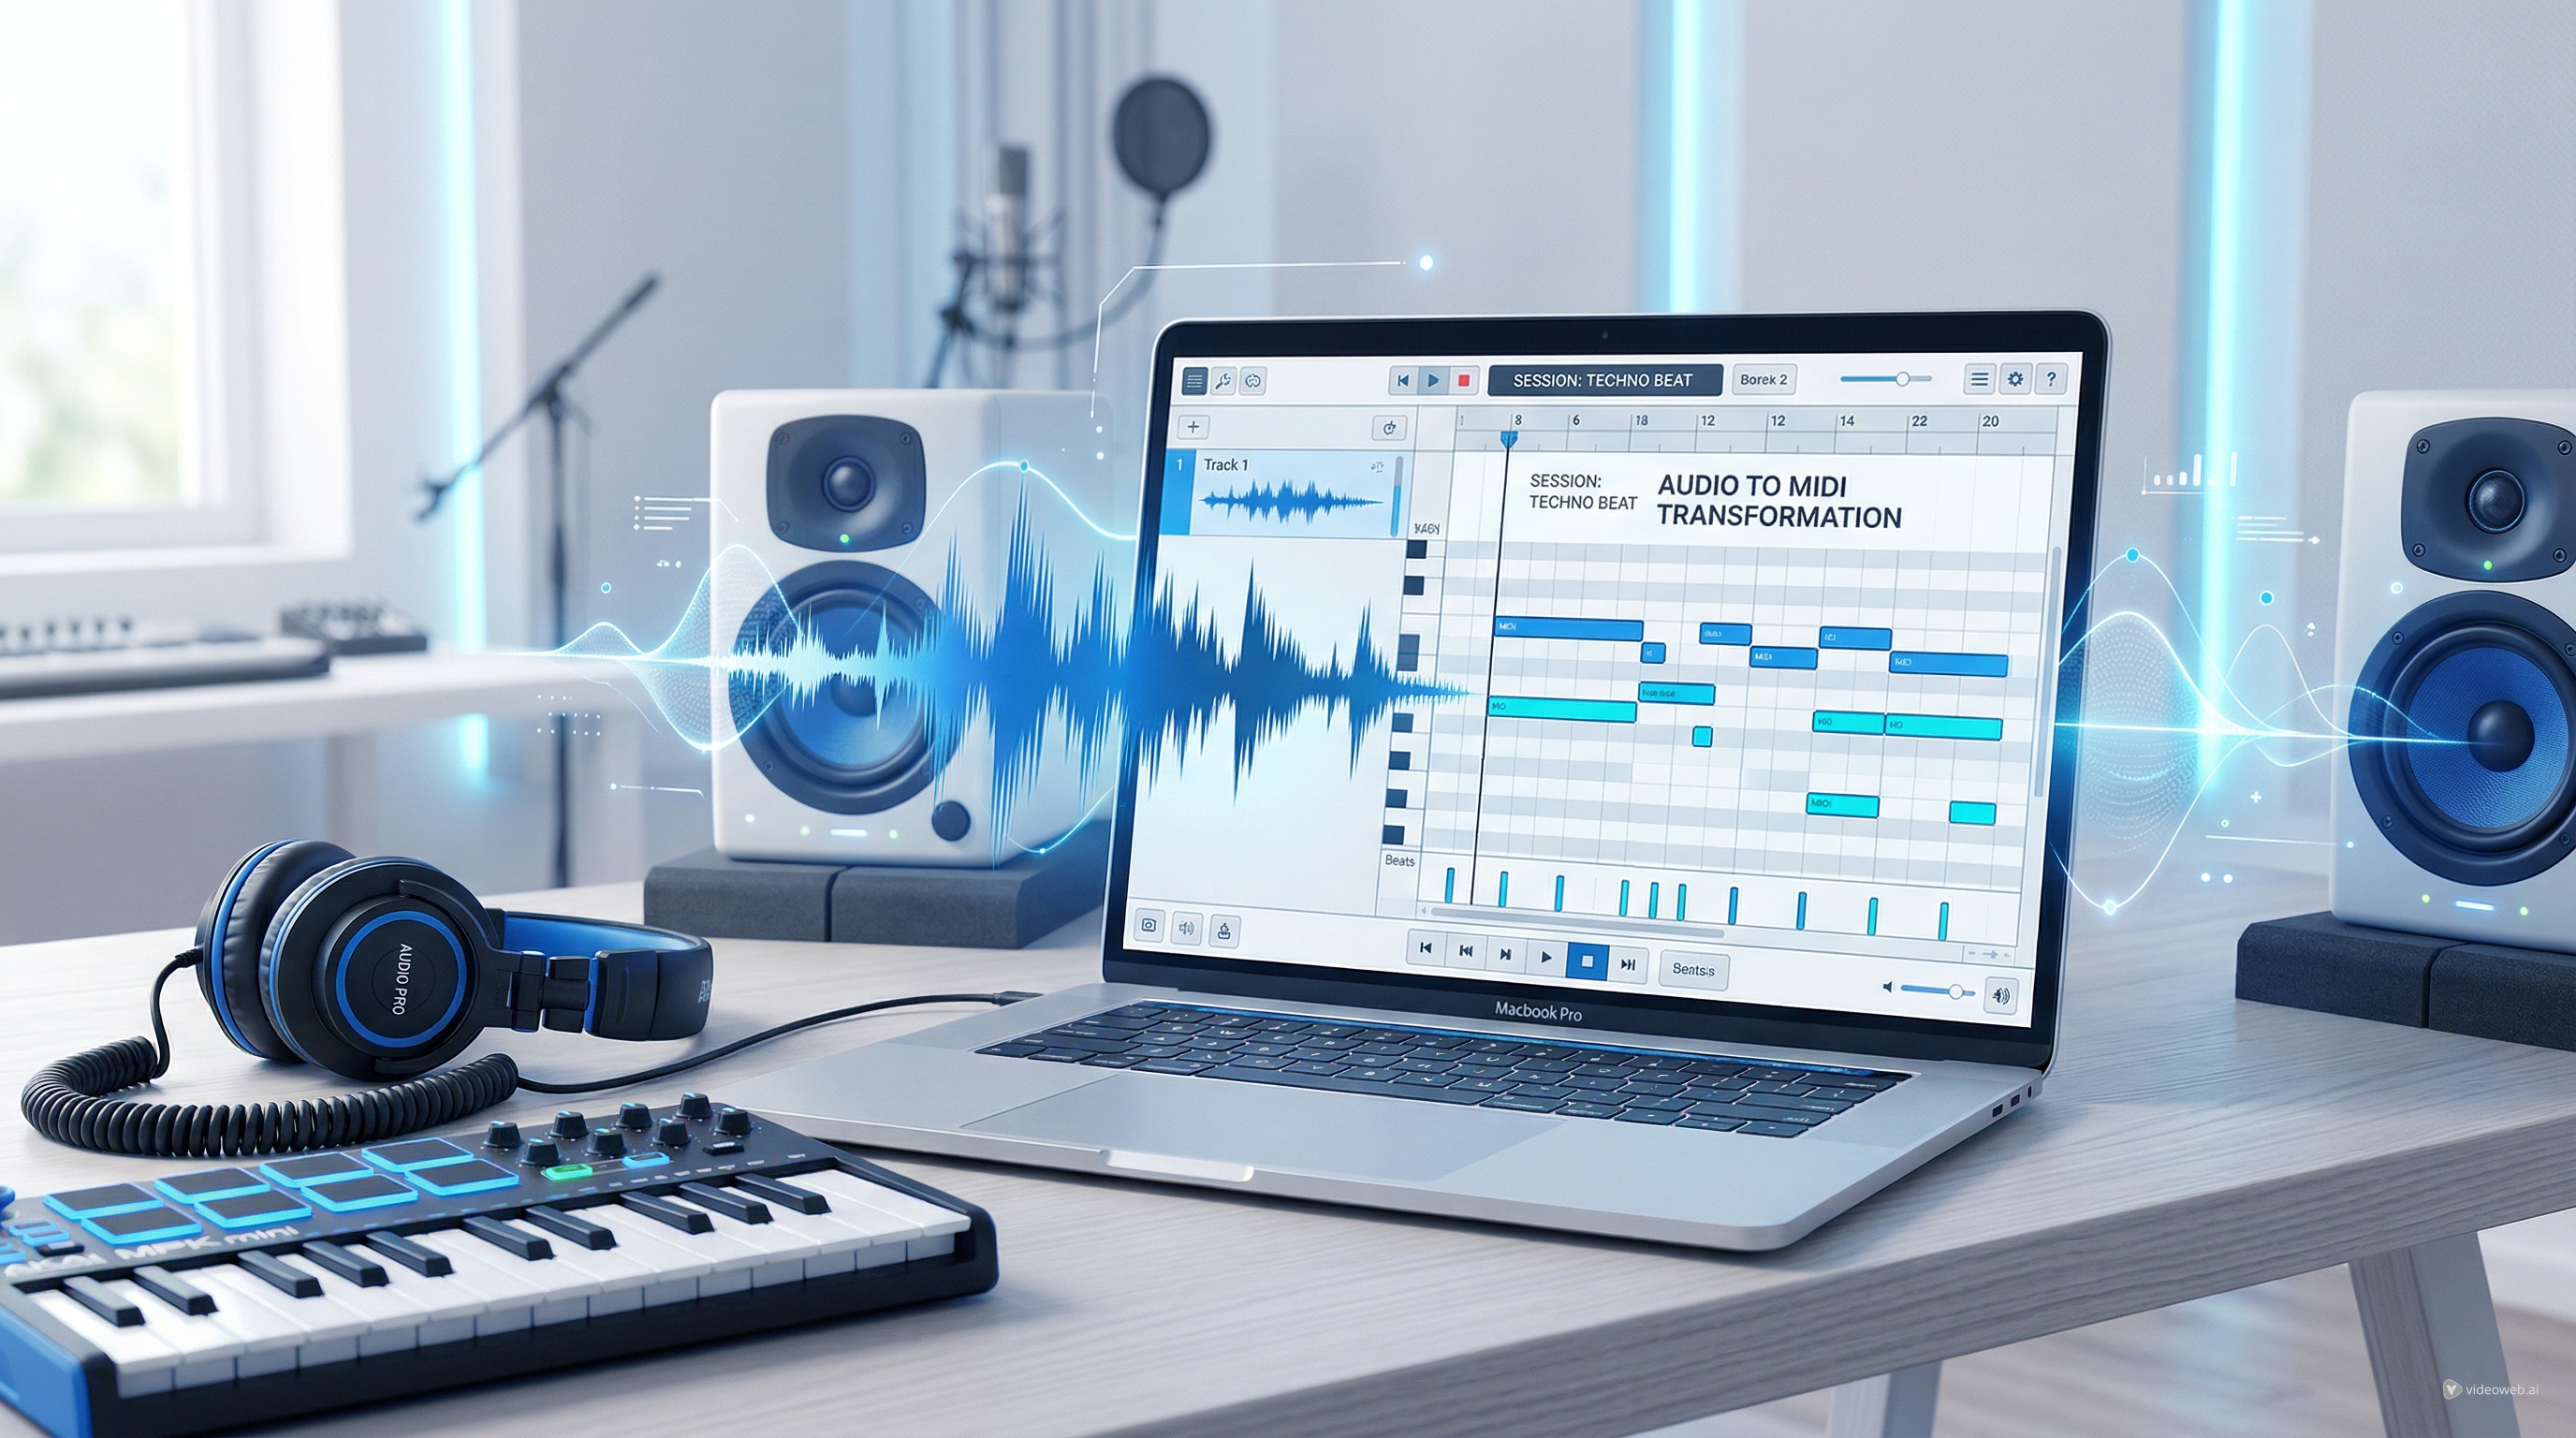
One of the smartest ways to use the editor is after transcription. If you record a sung melody, play a phrase on an instrument, or convert audio into MIDI, the result often needs cleanup. That is exactly where this editor becomes valuable.
使用该编辑器的一个高效方式,是在“转写”之后使用它。比如你录制了一段人声旋律、演奏了一段乐器乐句,或者已经将音频转换为 MIDI,往往都会得到需要清理和修正的结果——这正是该编辑器发挥价值的地方。
MusicMaker AI’s companion article, How to Convert Audio to MIDI with AI: A Guide to Audio-to-MIDI Workflow, fits naturally here. The conversion stage gives you the raw note information, while the editor lets you refine pitch accuracy, rhythm placement, note lengths, and expression.
MusicMaker AI 的配套文章 How to Convert Audio to MIDI with AI: A Guide to Audio-to-MIDI Workflow在这里就非常契合。转换阶段为你提供原始的音符信息,而编辑器则让你进一步打磨音高准确度、节奏位置、音符时值以及表现力。
In other words, audio-to-MIDI gives you the draft, and the editor helps you turn that draft into something usable.
换句话说,音频转 MIDI 提供了初稿,而编辑器则帮助你把这份初稿打磨成真正可用的作品。
A practical workflow might look like this:
一个实用的工作流程可能是这样的:
-
Convert a vocal or instrumental phrase into MIDI.
-
Open the result in MusicMaker AI’s online MIDI editor.
-
Correct any wrong notes.
-
Tighten timing.
-
Adjust velocity for realism.
-
Export the cleaned-up MIDI into your DAW or arrangement workflow.
-
将一段人声或乐器乐句转换为 MIDI。
-
在 MusicMaker AI 的在线 MIDI 编辑器中打开转换结果。
-
修正错误音符。
-
紧凑并校准节奏。
-
调整力度,使之更接近真实演奏。
-
将清理后的 MIDI 导出到你的 DAW 或编曲工作流中。
For beginners, this is also a great learning process. You can see how a performed phrase translates into note blocks, which helps build intuition for melody, rhythm, and phrasing.
对初学者来说,这也是一个很好的学习过程。你可以直观看到一段演奏是如何对应到一个个音符方块的,从而培养对旋律、节奏和乐句的直觉。
Tips for Getting Better Results
获得更佳效果的小技巧
To make the most of the tool, keep these habits in mind.
想要更好地利用这个工具,可以尝试养成以下几个习惯。
First, work in short sections. Editing four bars carefully is often more productive than trying to fix an entire track at once.
首先,分段编辑。认真打磨好四小节,往往比一次性试图修整整首曲子来得更高效。
Second, listen for feel, not just correctness. A note may be technically on the grid but still sound stiff. Slight rhythm and velocity changes can make a big difference.
其次,不要只追求“对不对”,也要听“好不好听”。音符虽然在网格上对齐了,但可能还是听起来僵硬。轻微改变节奏位置和力度,就能带来很大差异。
Third, use the piano sound as a neutral starting point. It makes pitch and timing issues easier to hear clearly before you move the MIDI into another instrument.
第三,先用钢琴音色作为中性参考。在把 MIDI 应用到其他乐器之前,钢琴可以让你更清楚地听出音高和节奏上的问题。
Fourth, think of the editor as a drafting tool. It is ideal for writing, correcting, and shaping ideas before moving into final production.
第四,把这个编辑器视为“草稿工具”。它非常适合在进入最终制作前,用于写作、修正和塑形你的音乐想法。
Exporting Your MIDI and Building a Bigger Workflow
导出 MIDI 并构建更大的工作流程
Once your edit is finished, export the MIDI file and continue wherever you want: a DAW, a scoring tool, a virtual instrument setup, or another AI-assisted workflow.
编辑完成后,你可以导出 MIDI 文件,并在任意后续环境中继续工作:无论是 DAW、配乐工具、虚拟乐器环境,还是其他 AI 辅助的工作流程。
That is why MusicMaker AI’s tool is more than just a convenient free MIDI editor. It can act as a bridge between idea generation and full production. You can sketch in the browser, correct in the piano roll, and then carry the file into a larger creative environment.
这也正是为什么 MusicMaker AI 的工具不仅仅是一个方便的免费 MIDI 编辑器。它还能作为“创意到成品之间”的桥梁:你可以在浏览器里勾勒草图,在钢琴卷帘中修正细节,然后把文件带入更大的创作环境中。
For many users, that balance is exactly what makes it appealing. It is accessible enough for beginners, but still useful for creators who already know what they want from a quick-edit MIDI workflow.
对很多用户来说,这种平衡正是它吸引人的地方:对新手足够友好易用,同时也能满足那些已经非常清楚自己需要什么样“快速 MIDI 编辑流程”的专业创作者。
Final Thoughts
总结与思考
If you want a simple way to edit notes, clean up timing, and shape expressive MIDI data without opening a heavyweight music program, MusicMaker AI’s best MIDI editor for quick browser work is a strong option to try.
如果你想在不打开笨重音乐软件的情况下,轻松编辑音符、清理节奏并塑造富有表现力的 MIDI 数据,那么 MusicMaker AI 这款专为快速浏览器工作打造的高效 MIDI 编辑器非常值得一试。
Its interface is clear, the piano-roll workflow is familiar, and the editing path is straightforward: import or create, adjust notes, refine dynamics, preview, and export. Paired with the Audio-to-MIDI guide, it becomes even more useful, especially for creators who want an efficient path from recorded idea to editable composition.
它的界面清晰、钢琴卷帘工作流十分熟悉,编辑路径也很直接:导入或创建、调整音符、润色动态、预听,然后导出。配合音频转 MIDI 的使用指南,它将更具价值,特别适合那些希望从“录音想法”高效过渡到“可编辑作品”的创作者。
Whether you are fixing a melody, testing a chord phrase, or refining transcription results, MusicMaker AI offers a practical way to work with MIDI directly online.
无论你是在修正一段旋律、测试一个和弦乐句,还是在润色转写结果,MusicMaker AI 都为你提供了一种可以直接在线处理 MIDI 的实用方式。
Recommended Tools and Models on MusicMaker AI
MusicMaker AI 推荐工具与模型
Useful tools to mention
值得一试的实用工具
-
Audio to MIDI Converter for turning recorded ideas into editable note data.
-
AI Lyrics Generator for writing lyric drafts before arranging music.
-
Music to Text for turning audio into descriptive or analytical text.
-
AI Music Checker for checking whether music may be AI-generated.
-
Free Audio Converter for preparing source files before transcription or editing.
-
Audio to MIDI Converter:将录制的音乐想法转成可编辑的音符数据。
-
AI Lyrics Generator:在编曲前快速生成歌词草稿。
-
Music to Text:把音频转换为描述性或分析性的文字。
-
AI Music Checker:检测音乐是否可能由 AI 生成。
-
Free Audio Converter:在转写或编辑前,对源音频格式进行准备与转换。
Models or creation options to mention briefly
值得简要了解的模型与创作选项
-
Music AI for general AI music creation workflows.
-
Music 4.0 for music generation use cases.
-
Music 4.5 or 4.5+ for more advanced or updated generation options.
-
Music 5.0 for newer generation workflows on the platform.
-
Music AI:适用于通用 AI 音乐创作工作流。
-
Music 4.0:面向常规音乐生成场景。
-
Music 4.5 或 4.5+:提供更高级或更新的音乐生成能力。
-
Music 5.0:平台上更新一代的音乐生成工作流选择。
Related Article
相关文章
-
How to Convert Audio to MIDI with AI: A Guide to Audio-to-MIDI Workflow
-
How to Use a Free AI Music Checker: Detecting AI-Generated Songs for Free
-
Turn Sound Into Meaning: The Future of AI Music-to-Text Conversion
-
AI Music Generator for Music Creator AI: How to Turn Ideas Into Finished Tracks
-
How to Convert Audio to MIDI with AI: A Guide to Audio-to-MIDI Workflow
-
How to Use a Free AI Music Checker: Detecting AI-Generated Songs for Free
-
Turn Sound Into Meaning: The Future of AI Music-to-Text Conversion
-
AI Music Generator for Music Creator AI: How to Turn Ideas Into Finished Tracks