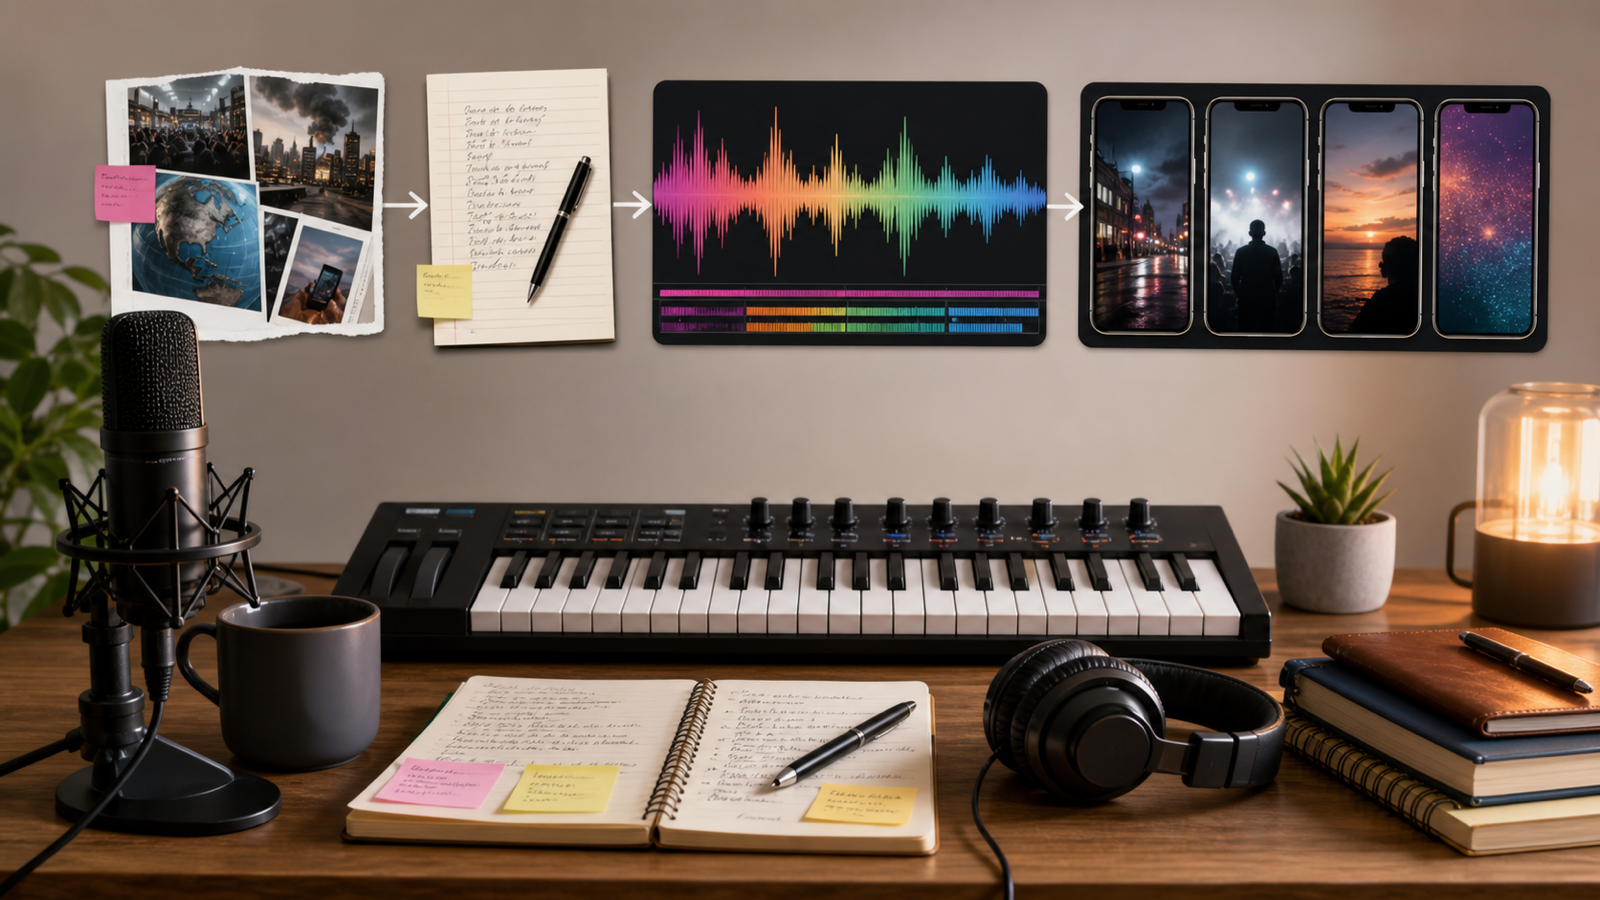
Creating a music video used to mean juggling several tools at once. First you needed a song. Then you needed cover art, a character image, or a performance still. After that, you still had to figure out how to animate the image in a way that matched the mood of the track. That multi-step process is exactly why a connected workflow feels so useful.
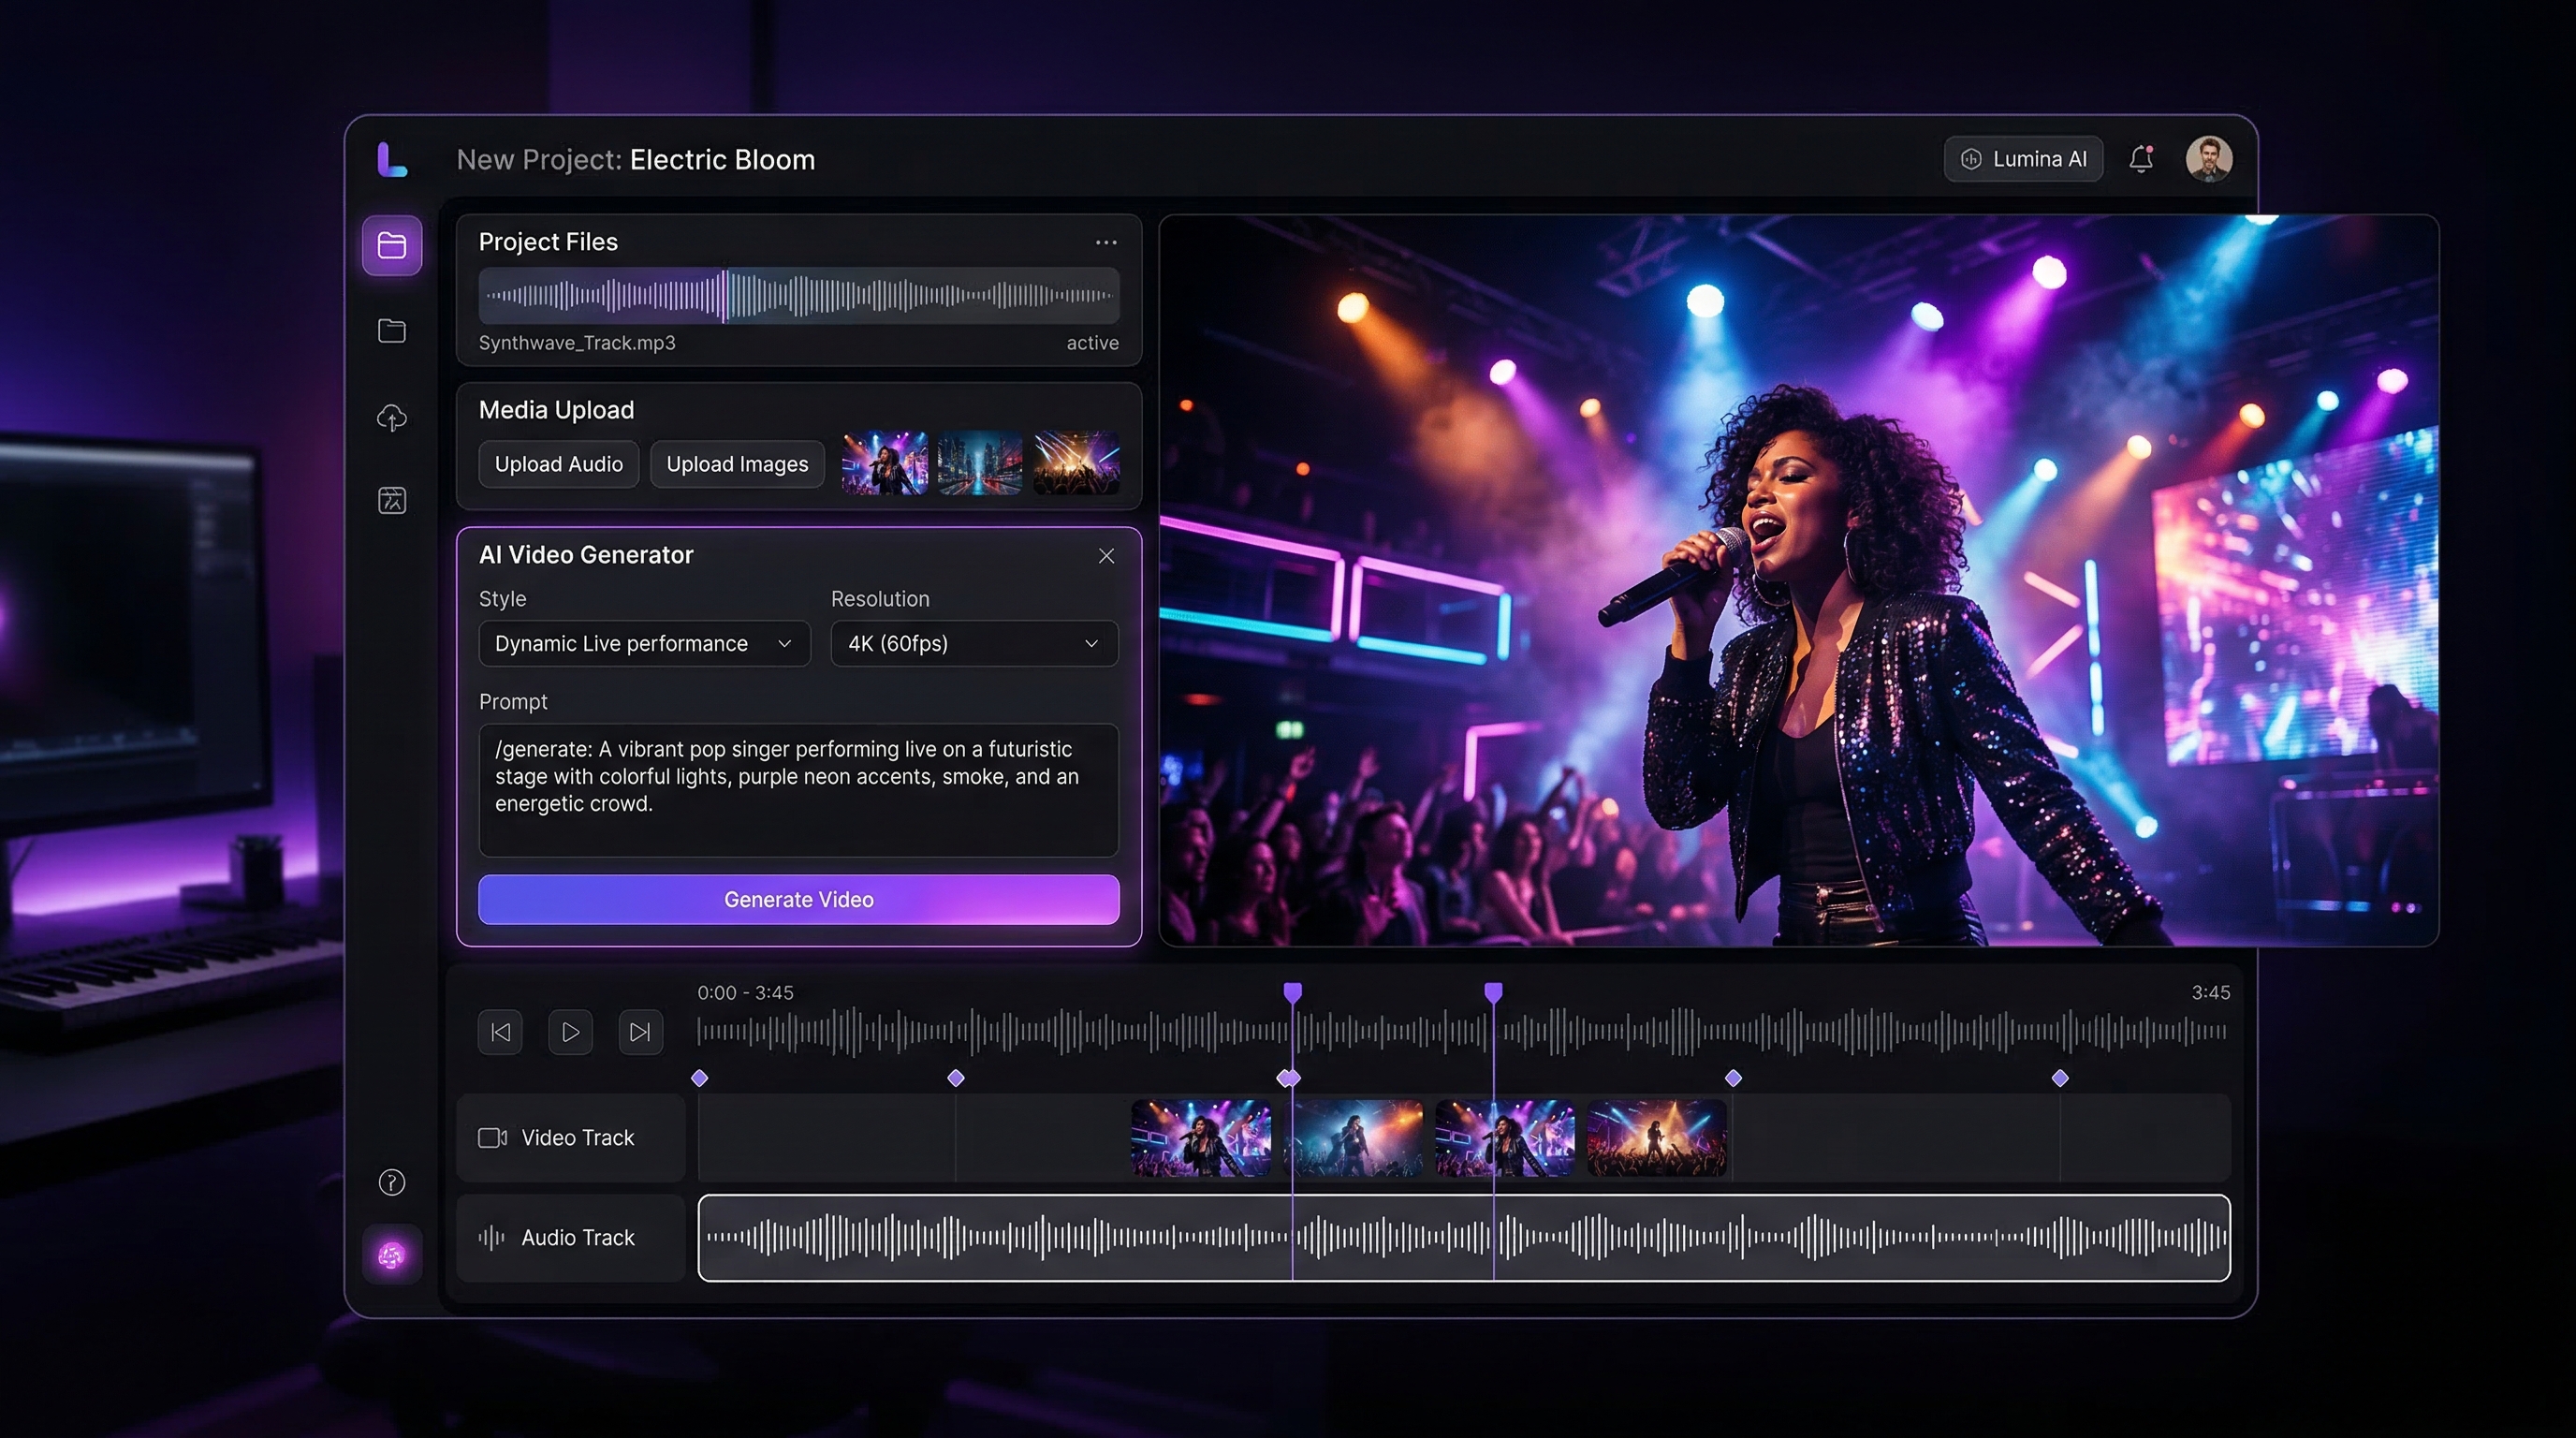
The AI Music Video Generator on MusicMaker brings those steps much closer together. Instead of treating music creation and video creation as two separate projects, it lets you move from track to image to motion in one practical flow. You can upload your audio, generate music if you do not have a finished track yet, add a character image, use the built-in motion prompt, and create a music-led visual without bouncing between too many different platforms.
This guide walks through the whole process in a simple but detailed way. It covers how to make or upload your song, how to prepare a strong image, how to use prompts correctly, and how to avoid the most common mistakes. The goal is not just to help you click the right buttons, but to help you get better first results.
Why this workflow is so practical
The biggest strength of this tool is that it does not start halfway through the creative process. Many video tools assume your music is already finished. Many music tools assume you will handle visuals elsewhere. This one is more useful because it supports both sides of the workflow.
That makes it especially helpful for independent musicians, short-form creators, marketers, and hobbyists who want to move quickly from idea to finished output. If you want a connected music-to-video AI workflow, this setup makes more sense than using unrelated tools for every step.
It is also beginner-friendly. The page is structured around three obvious inputs: music, image, and prompt. That means the learning curve feels much lighter than it does in a full editing suite.
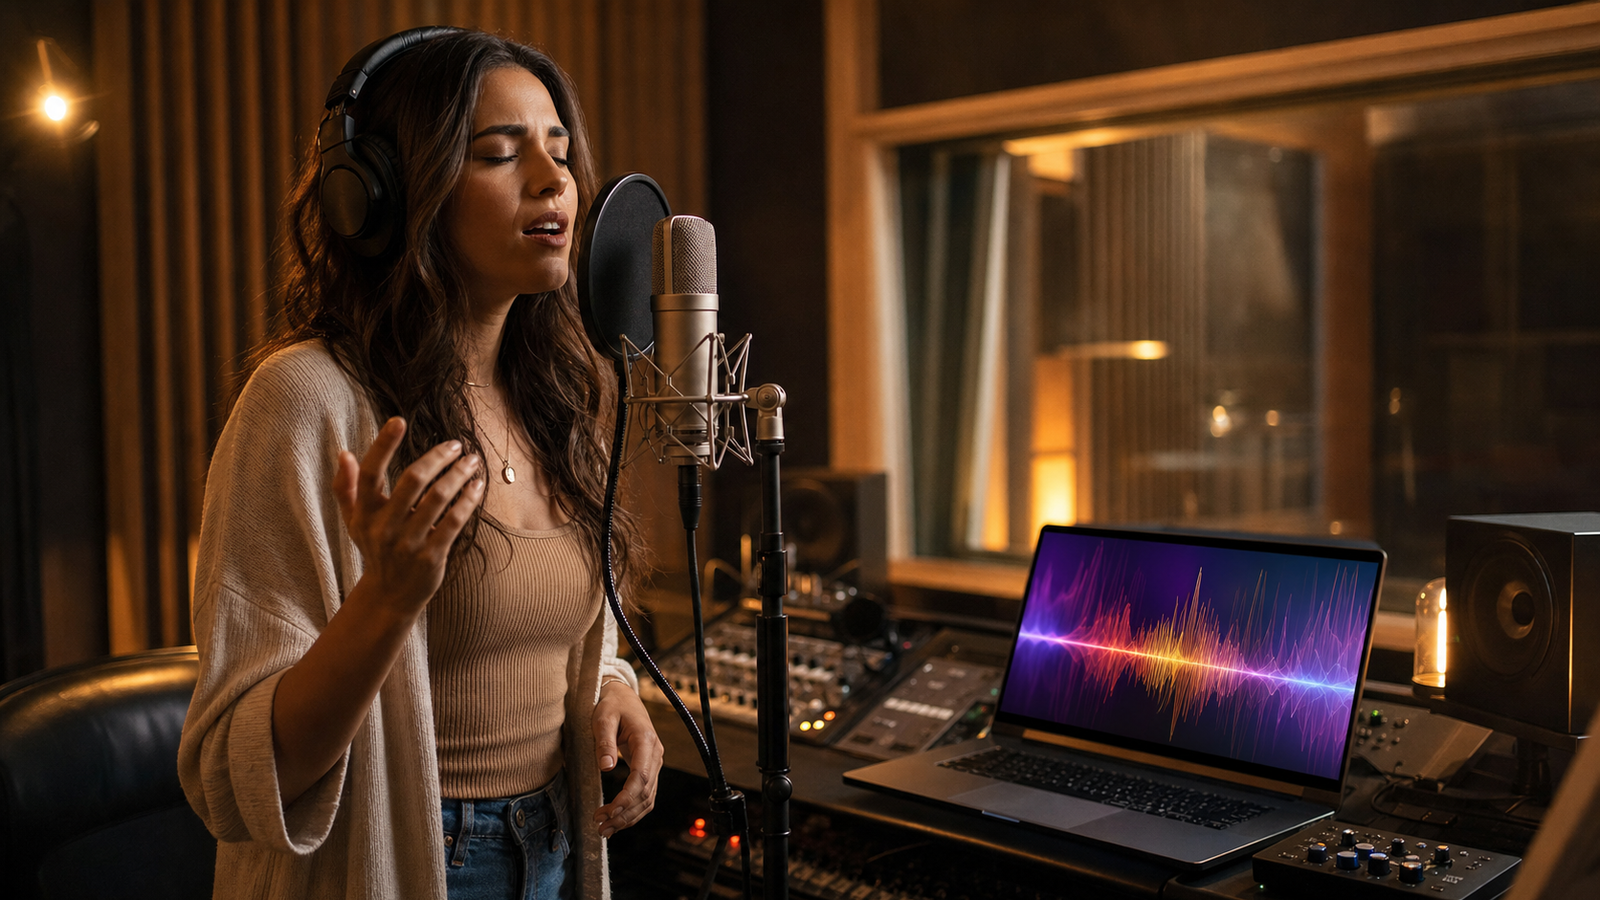
Step 1: Upload your music, or generate it first
The first step is the music file. If you already have a finished song, demo, instrumental, or vocal track, upload it directly into the AI music video generator. This is the fastest path when your audio is already ready.
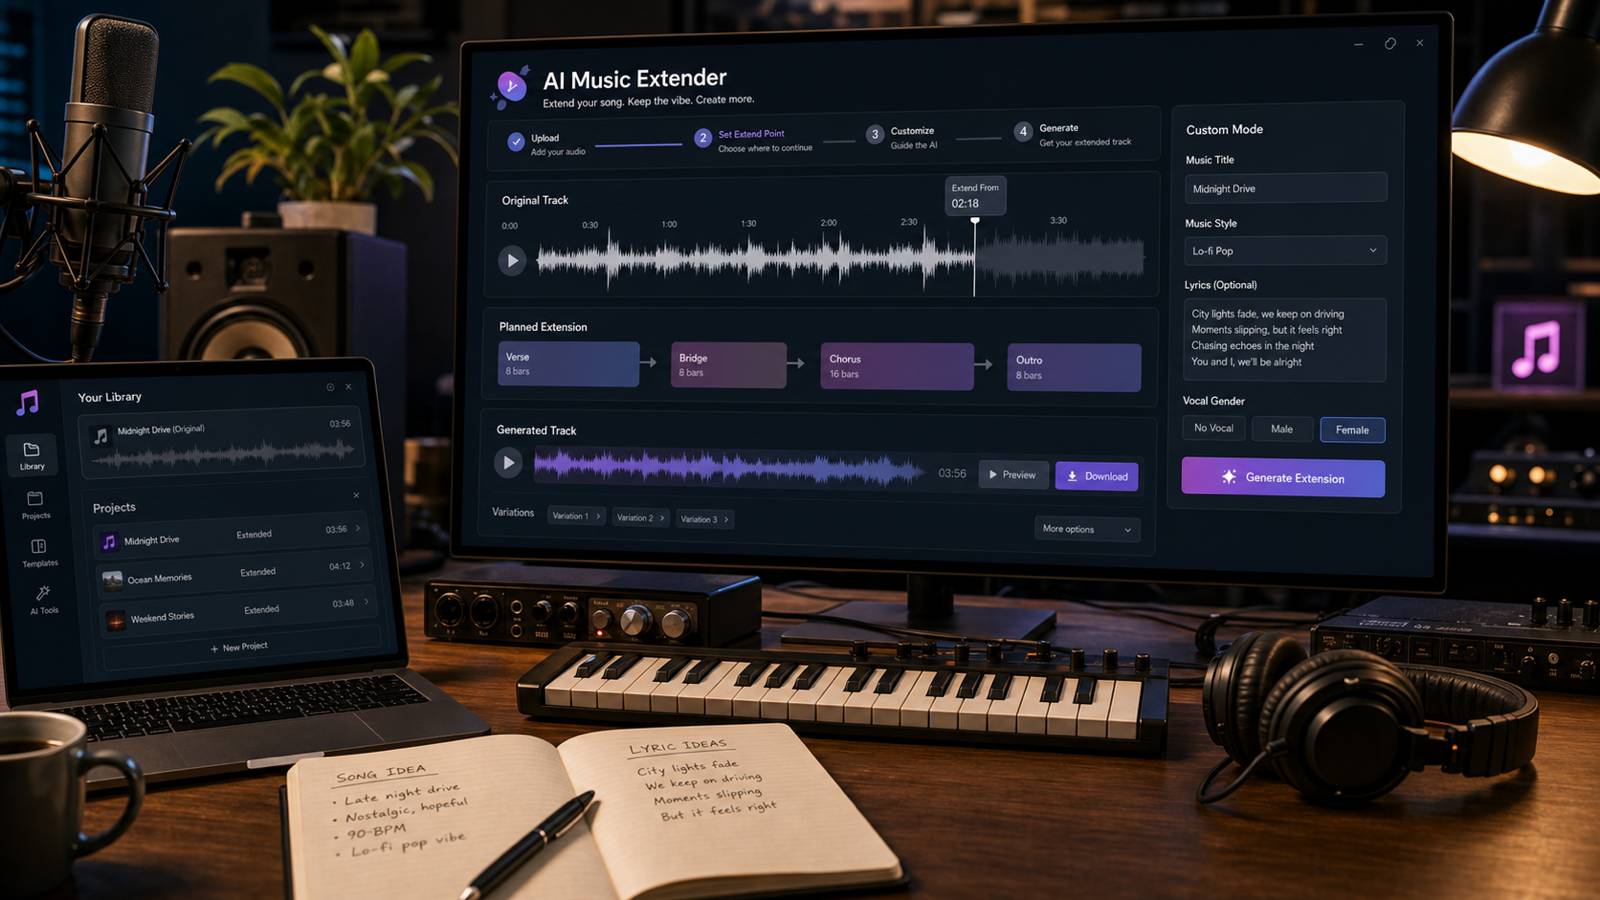
If your music is not ready yet, you do not need to stop there. The page includes an AI Music Generation option right inside the workflow. That means you can move directly from the video page into song creation without changing your overall process.
There is also a dedicated AI song generator if you want a more focused workspace for building the track first. In practice, both routes lead to the same place: getting your music ready before you animate the visual.
When to use the embedded music option
Use the embedded music-generation function when you want speed and simplicity. It is the right choice if your main goal is to get a usable song into the video workflow as quickly as possible.
When to use the dedicated song page
Open the standalone AI song generator when you want more deliberate control over the music itself. It is better for users who want to shape the track before touching the video.
The song page typically gives you two paths:
- Basic mode for fast concepting from a short description.
- Custom mode for more control over lyrics, music style, title, and vocal direction.
If you are specifically looking for a Suno AI music generator style workflow, this is also the right place to mention it. The general process is the same: start with the musical concept, generate the track, then bring that audio into the video stage. For a fuller music-first tutorial, you can recommend this companion read inside the article: How to Make Music with Suno AI for Free Using MusicMaker.
Optional but helpful: generate lyrics before you make the song
If you do not want to begin from a blank page, MusicMaker also has an AI Lyrics Generator that can help you shape the written part before you generate the track.
The process is simple. Enter the topic, add a few keywords you want included, choose the style of music, select the language, and generate a draft. Once you get a version you like, move the best lines into the song generator and keep refining from there.
This is especially useful for people who know the theme of the song but do not want to spend too much time staring at an empty lyric box. If you want to explain this more fully in the article, you can also point readers to this in-site companion guide: AI Lyrics Generator for AI Music Generator: How to Create Songs Smarter.
Step 2: Upload an image that already looks like the scene you want
Once the music is ready, the next major input is the image. This part matters more than many beginners expect. The best results usually come from an image that already feels like the moment you want to animate.
That could be a singer portrait, a stage shot, a stylized band photo, an album-cover style frame, or a character image designed to match the music mood. The tool works best when motion grows out of a strong still image. It is less effective when you upload a weak or unrelated image and hope the prompt will invent everything afterward.
Try to choose an image with clear subject focus, readable lighting, and a composition that can support subtle movement. A good image gives the model something solid to animate. A cluttered or low-quality one makes the output feel less stable.
If you do not already have an image ready, you can create one first with the AI Image Generator. This is a practical way to generate cover art, singer visuals, performance scenes, or mood stills before you come back to the video page.
Step 3: Start with the default prompt before you get ambitious
One of the smartest parts of the interface is that it already gives you a useful default prompt:
“Use the current frame. Add slight camera movement (very slow zoom or gentle parallax) and subtle motion to elements (e.g., slight breathing, blinking, soft ambient sway), while maintaining the original image fidelity. Keep the style unchanged: natural light, original color grading. Motion should be subtle, smooth, and realistic.”
This is a very good starting point. Many users make the mistake of immediately writing an overcomplicated prompt filled with dramatic camera movement, strong performance gestures, and too many extra visual ideas. That often leads to unstable or unnatural results.
A better approach is to test the default prompt first. It gives you a clean baseline. Once you see how the image behaves with gentle motion, you can begin adding more direction.
Three ready-to-use prompt templates
After testing the default version, you can try one of these templates.
1. Subtle singer-performance prompt
“Use the current frame and keep the composition unchanged. Add a slow cinematic push-in, gentle breathing, natural blinking, slight hair movement, and restrained performance energy. Preserve realistic skin texture, original lighting, and natural color grading. Motion should stay smooth, soft, and believable.”
2. Emotional live-stage prompt
“Animate this image into a live performance moment. Add soft microphone sway, slight upper-body movement in rhythm, gentle head turns, and subtle stage-light flicker. Keep the face consistent and the background stable. Preserve realistic concert atmosphere and smooth natural motion.”
3. Album-cover-to-video prompt
“Bring this cover image to life with a slow zoom, layered depth, drifting particles, slight fabric and hair motion, and subtle environmental movement that matches the song mood. Keep the style faithful to the original artwork. Avoid exaggerated motion, identity drift, or major scene changes.”
These work well because they control motion without overwhelming the source image.
Step 4: Trim the audio before you generate the final version
This is one of the most overlooked parts of the process. The strongest section of the song is not always the full song. In many cases, your first video will look better if you trim the audio to the most visually effective part.
Use the hook, chorus, strongest verse opening, or emotional peak. A focused section usually creates a better clip than a long, flat passage with less energy. If the platform gives you trimming controls, take advantage of them before you generate your serious test.
For short-form content, this is even more important. A tighter section gives the animation a stronger sense of purpose.
Step 5: Generate a test version first
Do not treat your first render as the final product. Treat it as a diagnostic pass.
When the first output comes back, check four things:
- Does the face stay stable?
- Does the motion fit the mood of the song?
- Is the camera movement too strong or too weak?
- Does the image still feel like the original frame?
This is how you improve efficiently. Instead of rewriting everything, look for the one thing that feels off and fix that first.
How to refine weak results
If the face starts warping, reduce the motion intensity and simplify the prompt.
If the result feels too static, add just one extra cue such as subtle head movement, soft hair sway, or slightly stronger camera push.
If the clip feels disconnected from the song, go back and trim the audio again. Very often, the problem is not the animation but the chosen section of music.
If the output becomes too stylized or drifts away from your source image, use phrases like “preserve original fidelity,” “keep the style unchanged,” or “maintain the original composition.”
The best workflow is controlled iteration. Change one variable at a time.
Why this can feel like one of the best AI music generator workflows for visual creators
People often search for the best AI music generator, but in real creative work, music quality is only part of the equation. For visual-first creators, the better question is whether the whole workflow helps you move from idea to usable content quickly.
That is why this setup stands out. You are not just generating a track. You are building a pipeline: make the song, prepare the image, animate the frame, and refine the result. For creators who care about visuals as much as audio, that is often more useful than using a music-only tool in isolation.
Common mistakes to avoid
The first mistake is starting with a weak image. A poor visual source makes everything harder.
The second is writing an aggressive prompt too early. Strong motion can look exciting in theory, but it often breaks realism when used before you test the base image.
The third is skipping the music-trimming step. The wrong audio segment can make even a decent video feel flat.
The fourth is trying to solve every creative problem at once. Do not generate lyrics, music, image, and complex motion all in one huge leap without checking each stage.
Final thoughts
The smartest way to use the AI Music Video Generator is also the simplest. Start with the song. If you do not have one, create it through the built-in route or the dedicated AI song generator. Prepare an image that already matches the mood. Test the default prompt first. Then refine only after you see a stable first result.
That is the real advantage of this tool. It turns what used to be a scattered, multi-tool process into a repeatable creative workflow. If you want a more practical way to move from audio idea to finished visual, this is a strong place to start.
Recommended Tools
- AI Song Generator for a dedicated music-first workflow.
- AI Lyrics Generator for drafting lyrics from themes, keywords, and genre.
- AI Image Generator for cover art, singer portraits, and mood visuals.
- Audio to Music for transforming audio input into musical ideas.
- AI Vocal Remover for separating vocals and instrumentals.
- AI Music Generator for broader song-creation workflows.
Related Articles
- How to Make Music with Suno AI for Free Using MusicMaker
- AI Lyrics Generator for AI Music Generator: How to Create Songs Smarter
- Music Maker AI Song Generator Guide (2026): Make Real Songs Fast With the Right AI Music Generator
- From Lyrics to a Finished Song in Minutes: Music Maker AI Workflow Guide
- AI Instrumental Music Generation Guide: From Prompt to Finished Background Track
People Also Read
- How to Create an AI Music Video by Suno & Hedra AI: The Complete 2025 Guide Using VideoWeb
- Experiencing Suno AI Music Generation with Dream Machine AI
- Create Magical Christmas Music Videos With AI: From Santa Clips to Music-Synced Holiday Greetings
- Veo 3.1 Video Generation Guide: How to Create Cinematic Clips on HeyDream AI
- The 2026 Image-to-Video Guide for Sea Imagine AI: Best Models & Prompts